
How to Hang Metal Wall Art: A Simple Guide
Key Takeaways
- Match the hanging method to weight and wall type; use studs or anchors for heavier metal art and damage-free strips for lighter pieces;
- Measure twice: plan placement, mark the hang point accurately, and level before calling it done;
- Avoid weak adhesives for heavy pieces and never drill through metal panels; use proper hardware like D-rings, French cleats, or backframes;
- Prefer a no-holes approach? Lightweight options can hang with high-strength strips and for true flexibility, Mixtiles offers adhesive, repositionable frames.
Metal wall art brings sleek and modern impact but the right hanging method keeps it secure and stunning. This guide answers the question “how do you hang metal wall art?” for every scenario: studs vs. drywall, light vs. heavy pieces, and damage-free options for renters. Follow simple steps, avoid common mistakes, and discover an easy alternative if you want the look without the drilling.
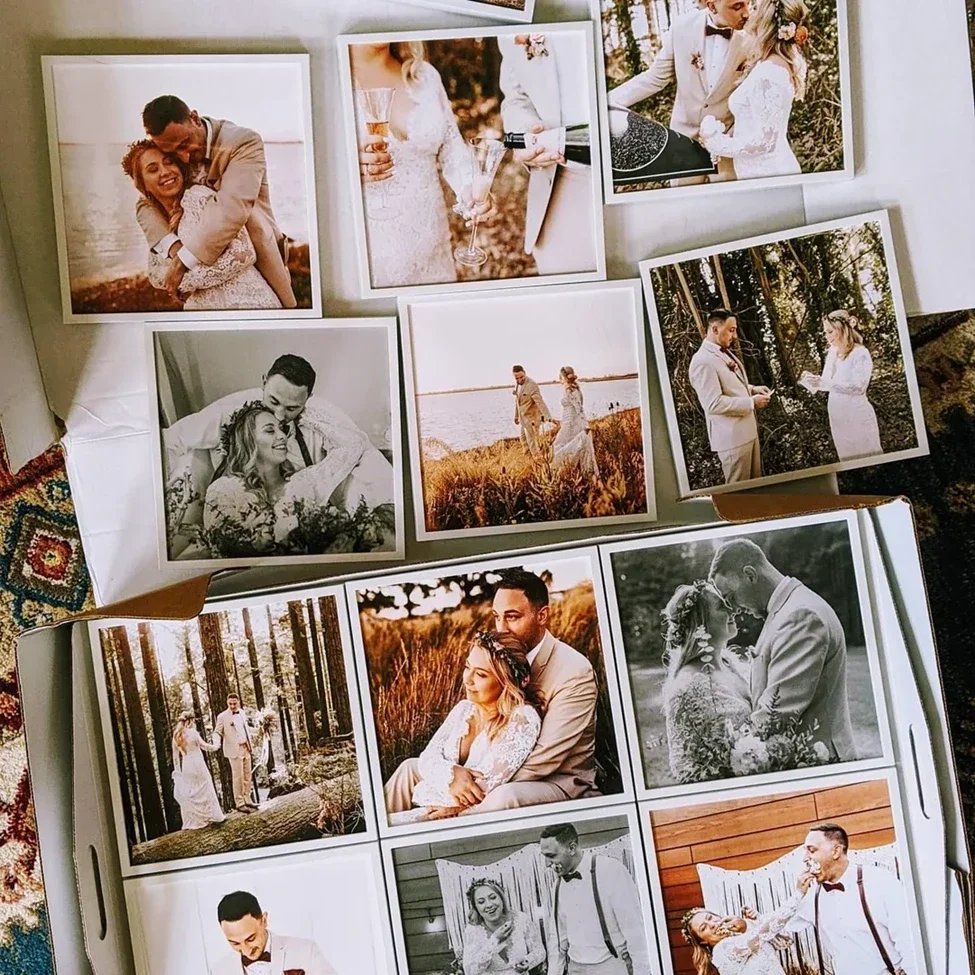
Want a gallery look without drilling holes? Mixtiles photo tiles arrive ready to hang with adhesive backs: stick, re-stick, and swap designs without damaging your walls.
Which tools and hardware do you actually need?
You’ll likely use a tape measure, pencil, level, stud finder, and a drill or screwdriver. For medium and large metal wall art, make sure your screws are long enough and that your anchors can support the weight. On drywall, picture hangers, wood screws, or toggle bolts work well; on masonry, use a masonry bit and anchors. Add small bumpers on the back to stabilize the frame How do you hang metal wall art step by step?
The best way to hang metal wall art is to plan your placement, secure the right mounting point with a stud or proper anchor, install the hardware carefully, and use a level to verify alignment. Follow these simple steps for art securely mounted and aligned.
Step 1: Plan and measure
Mark the wall where you want your metal print to sit and map the centerline. Measure the distance from the top of the artwork to its hanger drop (wire or sawtooth) and transfer that number to the wall so your top edge lands exactly where you want your metal to hang.
Step 2: Find a stud or choose the right anchor
Run a stud finder and mark stud edges; using a stud is ideal for heavy pieces. No stud? Choose anchors rated above the artwork’s weight. For drywall, consider toggle bolts; for plaster, use anchors designed for plaster; for brick, pick masonry anchors.
Step 3: Install the hardware
Pre-drill a pilot hole if needed. Drive the screw or install the anchor plus screw, leaving the head proud enough to catch the wire or sawtooth bar. If you’re using a French cleat or aluminum backframe, install both halves level and secure using a drill.
- Plan and mark: Measure the distance from hardware to the top edge, then transfer markings to your wall;
- Secure the mounting point: Use a stud or an appropriately rated drywall or masonry anchor;
- Install hardware: Drive screws or attach a cleat, leaving enough head to hang your artwork securely;
- Hang and level: Place the piece on the hardware and use a level to verify; adjust bumpers to keep it flush.
Step 4: Hang and level
Hang your metal art and use a level to verify it’s straight. Make small adjustments until the frame sits flush and balanced; bumpers help prevent tilting and protect the paint on your wall.
Can you hang metal wall art without drilling?
Yes, if the piece is light and your wall is clean and smooth. Damage-free mounting is great for renters who don’t want to drill. Always follow weight ratings, surface prep, and cure times for best results.
When no-drill works well
No-nail methods shine for lightweight metal photo prints and small metal artwork. Clean the wall with rubbing alcohol, press firmly, and allow adhesives to cure. This approach lets you experiment with layout ideas on a blank space without committing to screw holes.
Damage-free options to try
High-strength picture-hanging strips and adhesive hooks can hang small, custom-made pieces; a magnetic strip or magnetic paint can hold lightweight art prints; industrial-strength double-sided tape works for ultra-light decor. We don’t recommend using double-sided tape for heavy or large pieces.
When to avoid no-drill methods
Avoid adhesives on textured walls, in humid bathrooms or greasy kitchens, or for heavy metal art; in these cases, go with anchors or use a stud for best results.
What’s the best hardware for different backings?
Different backings call for different mounting solutions. Use the table below to choose a strong, reliable method that can support your piece and keep your wall art securely in place.
|
Backing on Artwork |
Best Way to Hang |
Notes |
|---|---|---|
|
Sawtooth bar |
Single screw or picture hanger into stud or anchor |
Easy setup; measure the distance to the hang point and leave screw head proud. |
|
D-rings |
Two screws/hooks; or add picture wire between rings |
Balanced and stable; two-point mounting helps keep large metal wall art level. |
|
Picture wire |
Single or dual screws; French cleat for heavier art |
Account for wire sag; use a level and consider a cleat for heavy designs. |
|
Hanger plate |
Adhesive plate on back + single screw/hook |
Clean with rubbing alcohol first; let adhesive cure before hanging. |
|
Aluminum backframe / French cleat |
Cleat or two screws into studs/anchors |
Very secure for large pieces; we recommend using a stud when possible. |
How do wall types change your approach?
On drywall, you’ll want a stud for heavy pieces; otherwise use toggle bolts or quality anchors. For plaster, pre-drill slowly and use anchors rated for plaster to avoid cracking. On brick or concrete, use a masonry bit, insert anchors, and drive Tapcon-style screws; a French cleat spreads weight nicely. On tile, drill with a tile bit at low speed or mount in grout carefully; if you don’t want to drill, choose lightweight pieces and no-drill methods only.
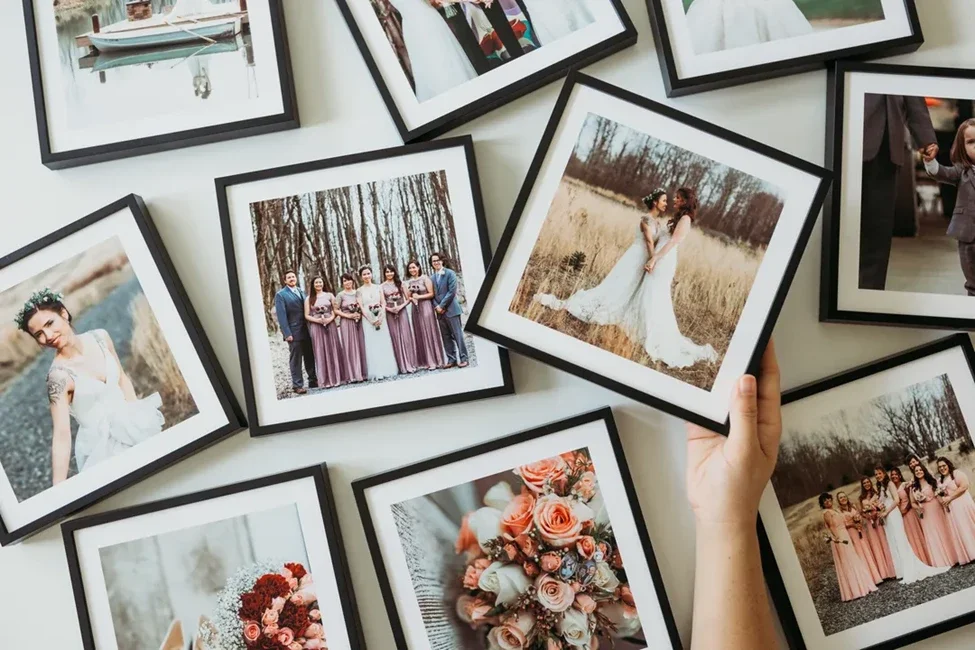
Love the metal look but want but want a little more variety? Try Mixtiles Canvas Prints and Gallery Wall Kits: ready to hang with peel-and-stick or magnetic mounting, free to rearrange, and backed by friendly customer service.
What mistakes should you avoid?
- Don’t drill through a metal panel: this can deform the artwork and void warranties.
- Don’t rely on weak adhesives or double sided tape for heavy mounting.
- Don’t skip measurements: always measure the distance from the hanger drop and use a level to verify alignment.
- Don’t ignore environment: steam and heat can weaken adhesives.
- Finally, don’t forget bumpers; they help keep your art securely aligned and protect paint on the back side.
How do you create a balanced metal gallery wall?
Plan your layout before you hang metal wall art. Mock up with painter’s tape or paper, then hang the anchor piece first and build outward. Keep consistent spacing, align top or centerlines, and step back often to check the overall design.
Plan your layout
Trace outlines of each art piece on paper, label them, and tape to the wall; maintain 2–3 inches between frames. This dry run will help you choose a strong focal point and avoid unnecessary drilling holes. For layout inspiration and spacing cues, browse real-life photo walls to see how different arrangements come together.
Mix sizes and finishes
Combine one large metal print with medium photo prints, poster prints, or acrylic prints to create depth. Unify the set with a shared color story or subject, and consider framed photo pieces to soften sharper metal edges. If your theme is travel or a milestone trip, pair the metal centerpiece with a shelf display featuring a matching travel photo book for added storytelling.
Install methodically
Find your stud, install hardware for the largest piece, then level and hang your artwork around it. For heavy items, we recommend using screws into studs or anchors; for small ones, adhesive solutions can hang your metal without nails. Always use a level and adjust until perfect.
Hanging metal wall art is straightforward when you match weight, backing, and wall type to the right mounting method. Whether you’re using a stud and screws, a French cleat, or damage-free strips, these simple steps show exactly how do you hang metal wall art securely and cleanly. If you want to design a new wall without tools, Mixtiles photo tiles and canvas prints make things fast and flexible.
Ready to create a custom gallery wall you’ll love, without nails? Upload photos to Mixtiles, buy a set of lightweight, adhesive photo tiles, and enjoy easy installation, free rearranging, and fast shipping options.
Frequently Asked Questions
What’s the best way to attach metal wall art to a wall?
Match the method to weight, wall type, and backing. Use a stud for heavy pieces; otherwise choose quality anchors (toggle for drywall, masonry anchors for brick). Sawtooth bars hang on a screw, D-rings use two points, and French cleats or backframes suit larger art. Measure hanger drop, level, and add bumpers.
How can I hang metal wall art without drilling holes?
For lightweight pieces on smooth, clean walls, use high-strength picture-hanging strips or adhesive hooks. Degrease with isopropyl alcohol, respect weight ratings, and allow recommended cure time. Avoid textured or humid areas.
Do Command Strips work on metal signs and metal prints?
Yes, on smooth, finished metal and painted wallboard if you follow weight ratings and prep properly. Clean both surfaces, press firmly, and let the adhesive set. Avoid textured, dusty, or oily finishes; some powder coatings or embossed backs reduce grip. Not ideal for heavy or humidity-prone placements.
Can I hang metal wall art with magnets? How does it work?
Install countersunk screw magnets into studs or suitable anchors, then use matching disc magnets to clamp ferromagnetic artwork. Ensure combined pull strength exceeds the art’s weight. Note: aluminum prints aren’t magnetic; add a thin steel plate if needed. Level carefully and start with multiple magnets for stability.

Be first to know — deals, news & decor ideas.
By clicking you agree to the Terms of Use & Privacy Policy