
How to Hang Pictures with Sawtooth Hangers: A Simple, Foolproof Guide
Key Takeaways
- Sawtooth picture hangers suit lightweight frames, usually up to 20 to 25 lb, and need a headed nail or screw;
- Measure the drop from the sawtooth to the frame top, transfer to the wall, then set the fastener at a slight upward angle;
- Choose hardware by wall type: nails or anchors for drywall and studs, masonry screws or anchors for brick and concrete;
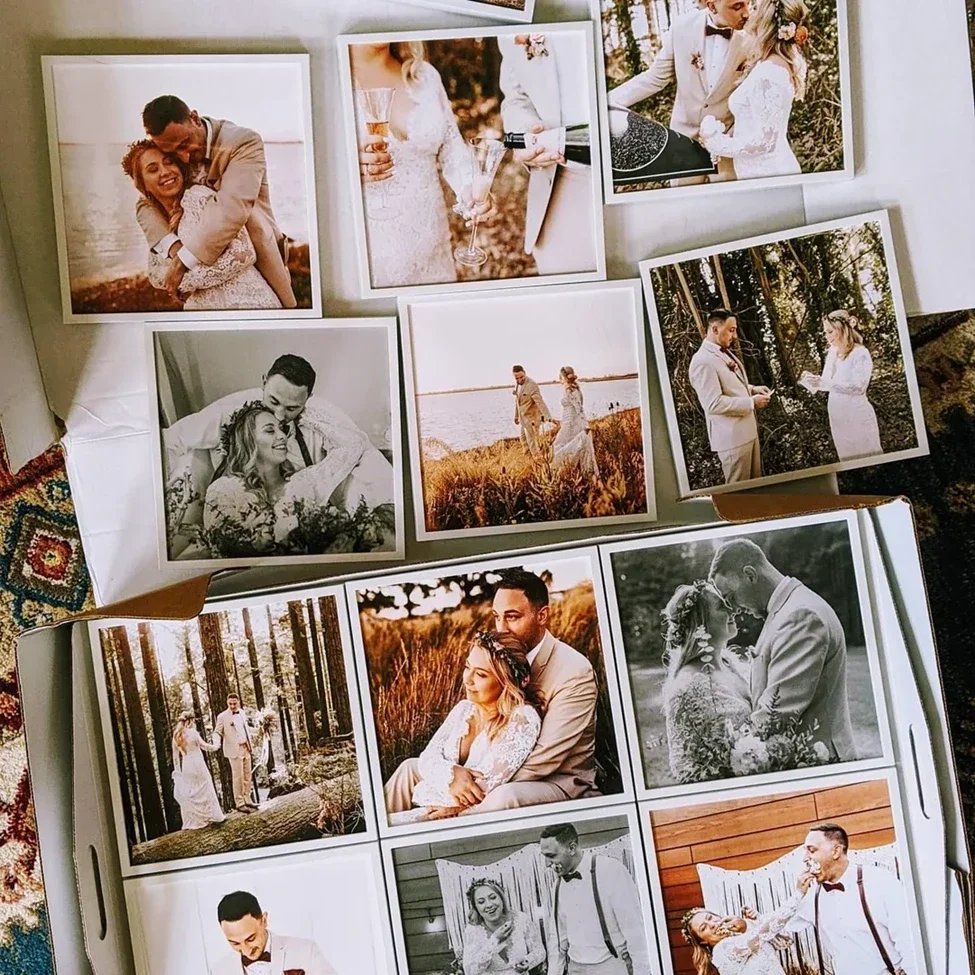
- If you want a faster, damage free way to hang pictures, Mixtiles adhesive frames let you stick, level, and rearrange without tools.
Sawtooth hangers make hanging pictures quick and tidy. The real secret is accurate measuring, choosing the right hook, and using a nail or screw that gives the teeth a secure bite. In this guide, you will learn how to hang pictures with sawtooth hangers, get the tools you need, and avoid common mistakes. If you want to hang your picture with no holes, we will also show you a simple Mixtiles option that looks great in any home.
Skip tools, get perfect walls. Create stunning gallery walls in minutes with Mixtiles adhesive, repositionable photo tiles. Design yours in the Mixtiles app today.
What is a sawtooth hanger, and when should you use one?
A sawtooth hanger is a small metal strip on the back of a picture frame with jagged teeth that catch a nail or screw head. It is a classic way to hang light wall arts and photos. For heavy pieces, or anything valuable, choose D rings with wire or a heavy duty system. Sawtooth picture hangers shine when you want a fast, centered, simple way to hang small frames.
Types of sawtooth hangers
You will find pronged nailless versions that tap into wood, screw on hangers that feel more secure on medium frames, and metal frame clips for special profiles. Clear adhesive tabs exist for very light art, like foam board. For heavier art, consider a heavy duty sawtooth or step up to a different type of hanger.
What tools and hardware do you need?
You can use a pencil, tape measure, level, painter’s tape, and either a hammer or screwdriver depending on the hanger. For the wall, a headed picture hook, a nail or screw, and the right anchor can help you get a safe hold. A stud finder is useful when you want to hang on a stud, and a tiny dab of toothpaste helps transfer marks with accuracy.
How to choose the right wall fastener?
Choosing the right hardware depends on wall type. Use the quick guide below to find the best match.
|
Wall type |
Recommended fastener |
Notes |
|---|---|---|
|
Drywall, light frames |
Headed nail or small picture hook |
Set at 10 to 20 degrees upward, leave about 1/8 inch head exposed. |
|
Drywall, added security |
Screw with plastic anchor |
Pick an anchor rated above the picture weight. |
|
Stud in wall |
Wood screw |
Pre drill if needed, do not over tighten. |
|
Brick or concrete |
Masonry screw or anchor |
Use a hammer drill and masonry bit for clean holes. |
How do you hang pictures with sawtooth hangers step by step?
Follow these quick steps to hang your frame accurately and level on the first try.
- Pick the spot and mark the top center where you want the picture to sit;
- Measure the distance from the center of the sawtooth hanger to the top edge of the frame back;
- Transfer that measurement straight down from your wall mark to find the nail or screw location;
- Install the fastener, angle a nail slightly upward and leave about 1/8 inch of head showing;
- Hang your picture by centering the saw tooth on the hook, then level and adjust gently.
Pro tips for perfect placement:
- Use painter’s tape or a small toothpaste dab on the sawtooth to pinpoint the wall mark;
- For frames wider than 24 inches, add a second hanger for stability; weight ratings are not cumulative;
- Add felt pads to the corners to protect paint and help fine tune leveling.
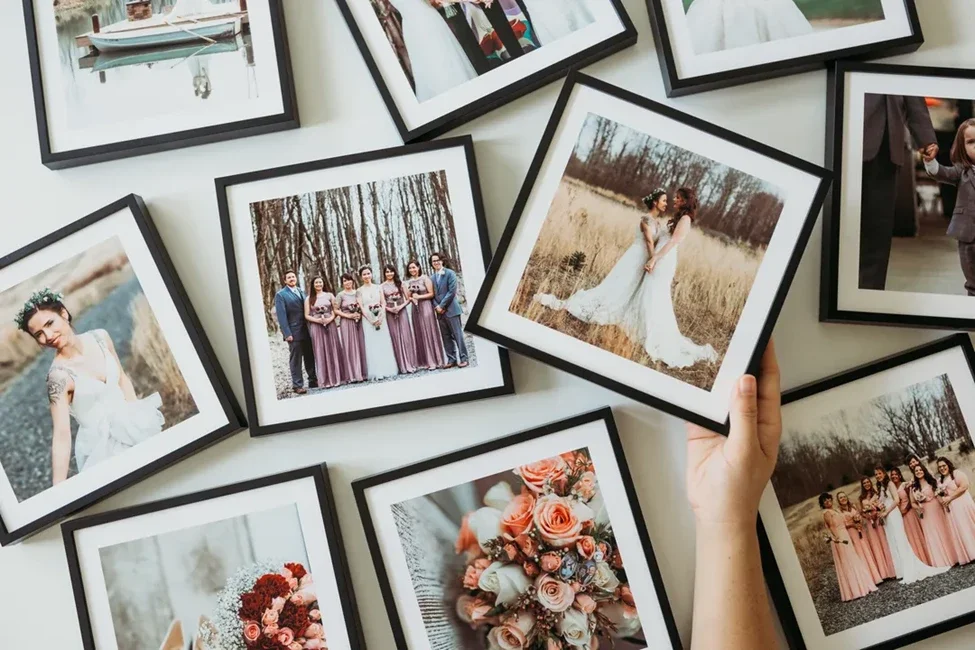
Love damage free hanging? Our beautiful canvas prints stick strong, restick clean, and make creating your dream picture wall easy. Build yours in our app, then place, swap, and enjoy.
Do you need a stud, and what about different wall types?
You do not need a stud for light frames, but it helps. If you cannot find one, a properly rated drywall anchor is a safe way to hang. On plaster, pre-drill and use a picture hook or anchor. On brick or concrete, use masonry anchors or screws. Always make sure the chosen picture hangers exceed the weight of the art.
What mistakes should you avoid?
You should always try to avoid:
- Hanging a picture that is too heavy for a single sawtooth hanger;
- Using a brad or finish nail without a head; the tooth will not catch;
- Skipping measurements and guessing the drop from the hanger to the frame top;
- Mounting the sawtooth off center on the back of the picture frame.
With the right prep, how to hang pictures with sawtooth hangers becomes simple home improvement. Measure once, choose the right nail or screw, and let the teeth do the work. If you want a clean, no hole solution, try Mixtiles picture tiles or turn your favorite photos to canvas for an easy way to hang and rearrange in seconds. Ready for effortless wall art, design your set in the Mixtiles app or on our website.
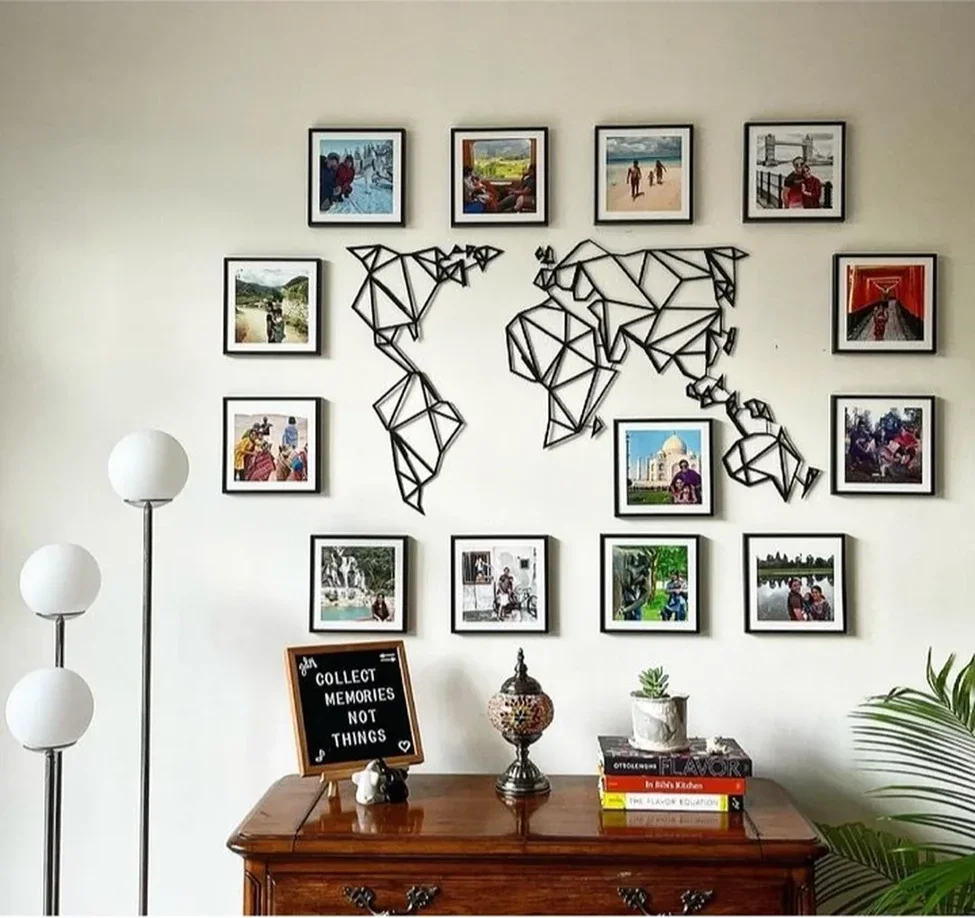
Build your perfect gallery wall today. Start on the Mixtiles website or app to upload photos, preview layouts, and order adhesive, repositionable frames with free shipping.
Frequently Asked Questions
How do I hang a picture with a sawtooth hanger correctly?
Mark the wall where the top center of the frame should sit. Measure the drop from the sawtooth to the frame’s top, transfer that down, then install a nail or screw at a slight upward angle. Hang on the head, then level and adjust.
Which nail or screw works best with sawtooth hangers?
Use a headed picture nail or small hook for drywall, a wood screw into a stud, or a screw with a plastic anchor for added security. On brick or concrete, use masonry screws/anchors. Angle 10–20 degrees upward and leave about 1/8 inch of head exposed.
What common issues do sawtooth hangers cause, and how can I avoid them?
Frames can drift off-center from vibrations if the hanger isn’t centered or the fastener lacks a proper head. Center the hanger, use two hangers on wide frames, respect weight limits, and add felt pads. Prefer no-shift, no-hole hanging? Try Mixtiles adhesive, repositionable frames.
What is the two-thirds rule for hanging art, and does it apply here?
The two-thirds rule suggests your artwork or grouping should be about two-thirds the width of the furniture beneath it (e.g., a 60-inch piece over a 90-inch sofa). It’s a styling guideline; still measure and place your sawtooth fastener precisely for level results.
Be first to know — deals, news & decor ideas.
By clicking you agree to the Terms of Use & Privacy Policy